How to Use
Last updated: March 30, 2024
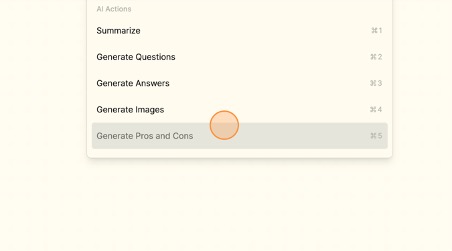
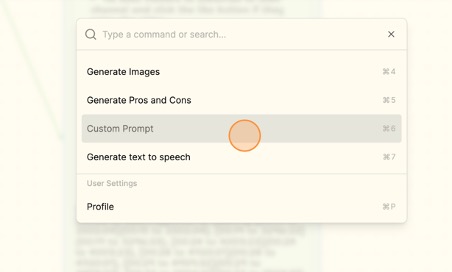
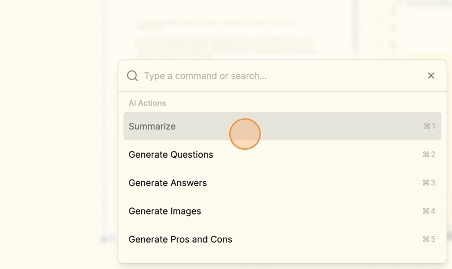
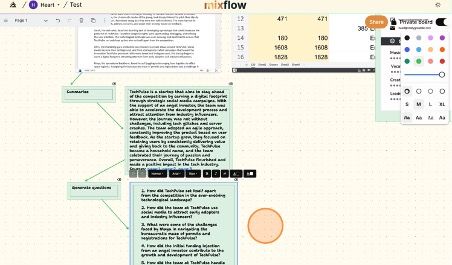
Generate Pros and Cons
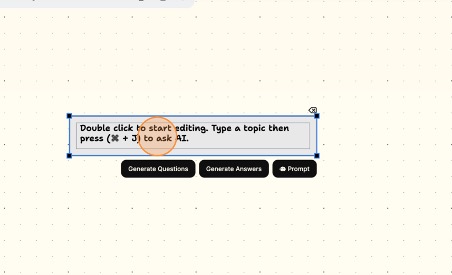
- Type “C” and click anywhere on the board.
- Type your desired topic.
- Press CMD + J and choose GENERATE PROS AND CONS.
- Wait for the list of pros and cons to appear.

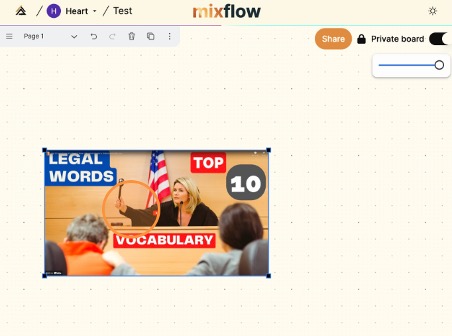
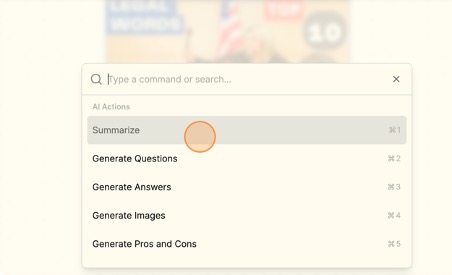
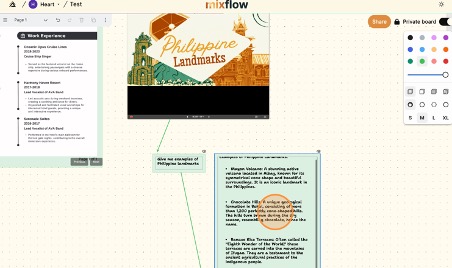
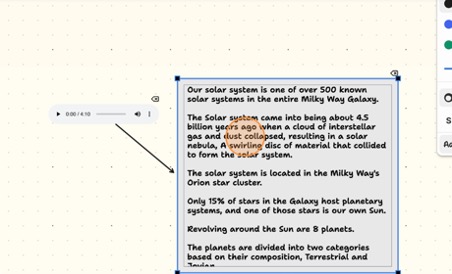
Chat with YouTube
- Copy the YouTube video’s link and paste it anywhere on the board.
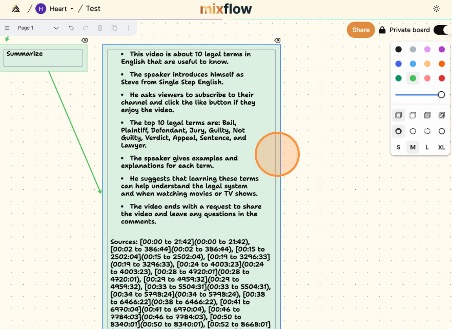
- Press CMD + J and choose SUMMARIZE.
- Wait for the summary to be generated.
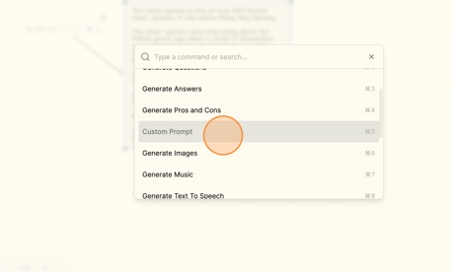
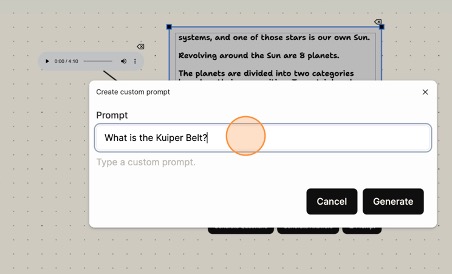
- Feel free to chat with it or ask more questions by simply clicking CMD + J and CUSTOM PROMPT.
- Type your question in the prompt field and click GENERATE.
- It will give you an answer based on the video.
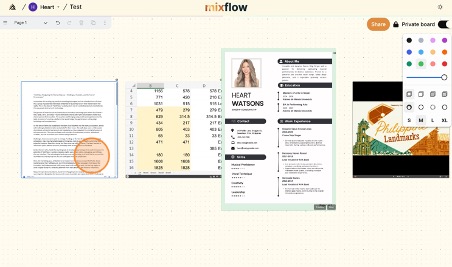
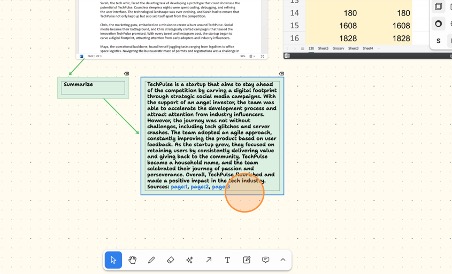
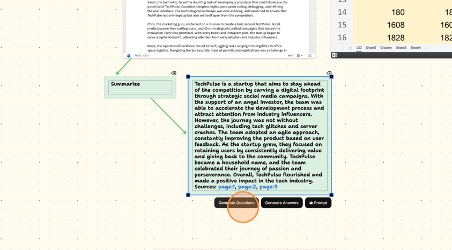
Chat with Microsoft Documents and PDF
- Drag and drop the file/s anywhere on the board.
- Click on the file you want to work on.
- Press CMD + J and choose SUMMARIZE.
- Wait for the summary to appear.
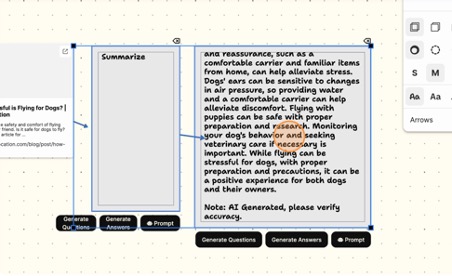
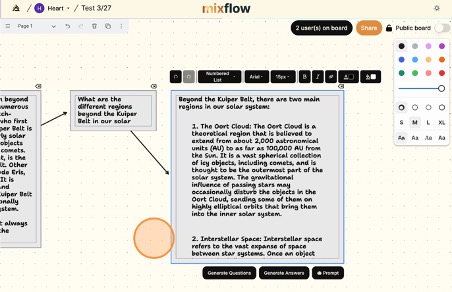
- If you want to dig deeper, you can generate questions and answers out of the file. Simply hover over the text box and click GENERATE QUESTIONS.
- Wait for the questions to appear.
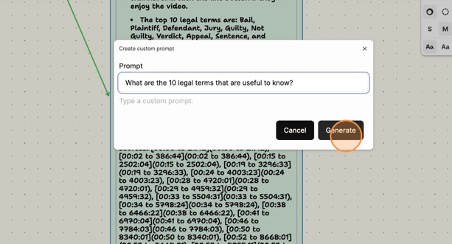
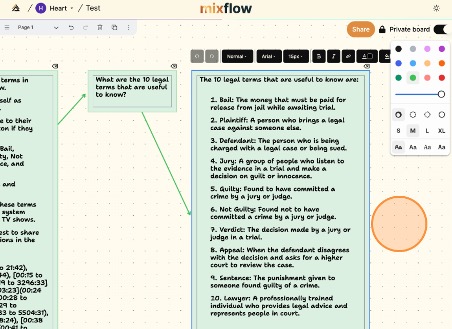
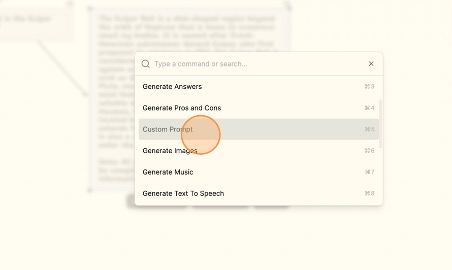
- You can click “generate answers” afterward. However, if you have your own question, you can ask any question through CUSTOM PROMPT.
- Click on the file.
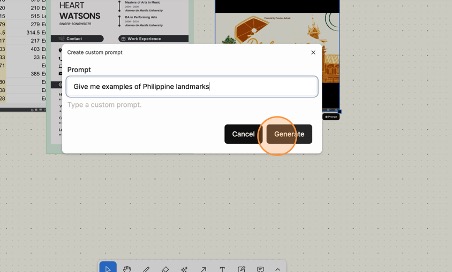
- Press CMD + J and choose CUSTOM PROMPT.
- Type your question and click GENERATE and wait for the response to appear.
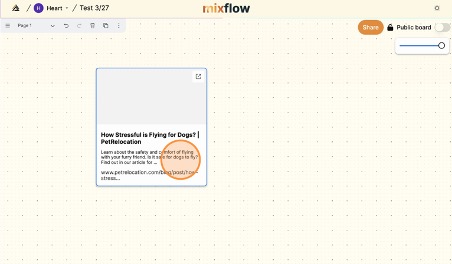
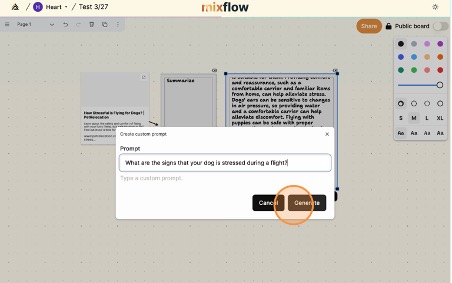
Chat with Any Website
- Paste the link to any website that you want to interact with anywhere on the board.
- Press CMD + J and click SUMMARIZE.
- It will show the summary of the website’s content.
- If you have additional questions, simply press CMD + J and click CUSTOM PROMPT.
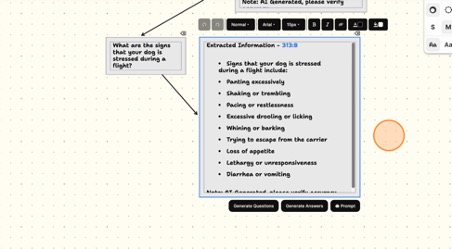
- Type your question and click GENERATE.
- It will show you the extracted information from the website that answers the question.

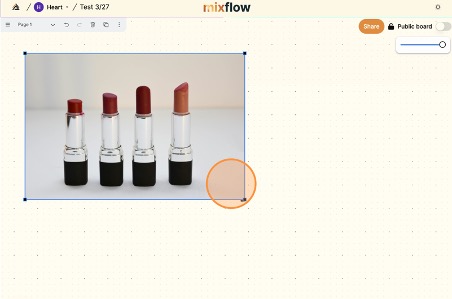
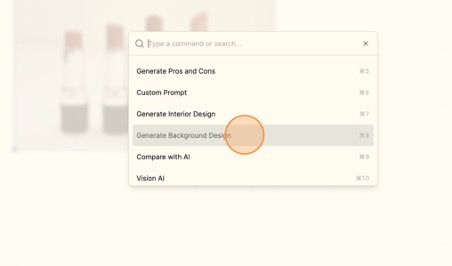
Create Social Media Ads
- Paste the picture of your product/s anywhere on the board.
- Press CMD + J and click GENERATE BACKGROUND DESIGN.
- Type your prompt in the image prompt field and click GENERATE.
- It will show you the photo it generated based on your prompt.
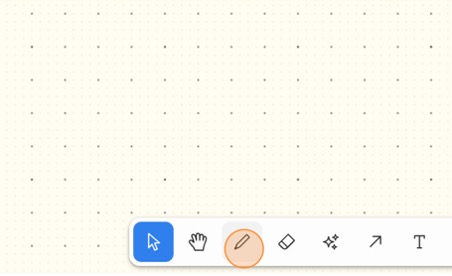
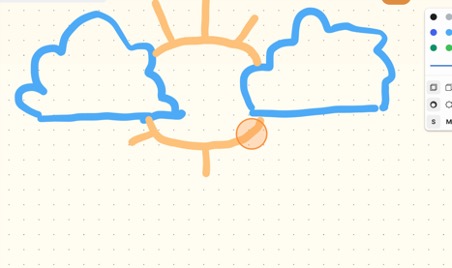
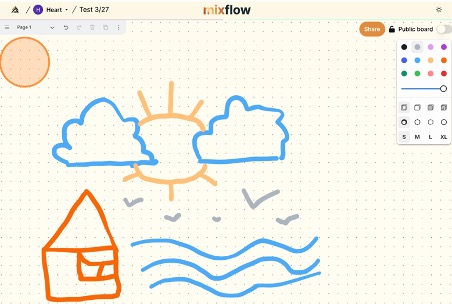
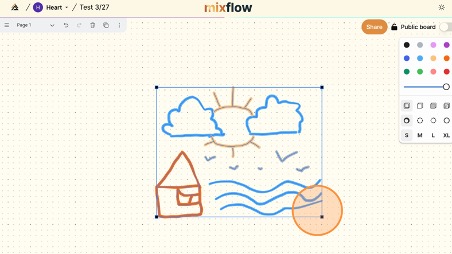
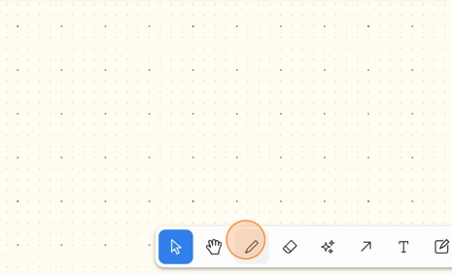
Doodle to Reality
- Click on the pen icon in the toolbar.
- Start doodling.
- Once finished, highlight the whole doodle.
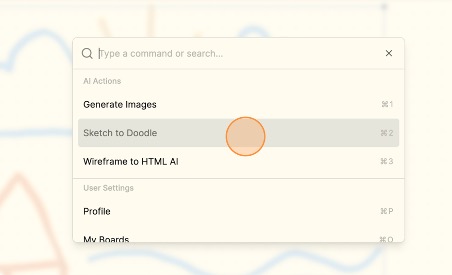
- Press CMD + J and click SKETCH TO DOODLE
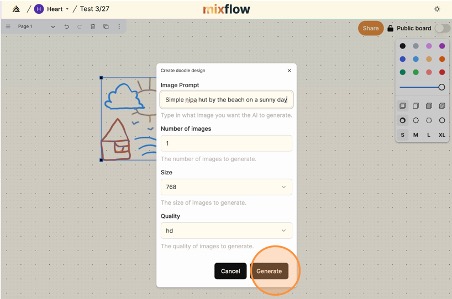
- Type your prompt in the prompt field and click GENERATE.
- Wait for it to show you the result.
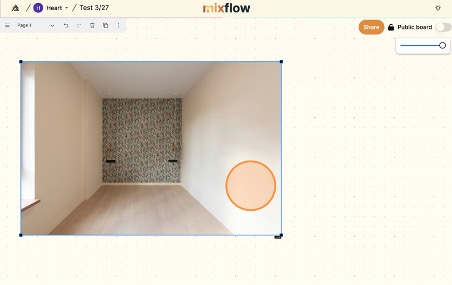
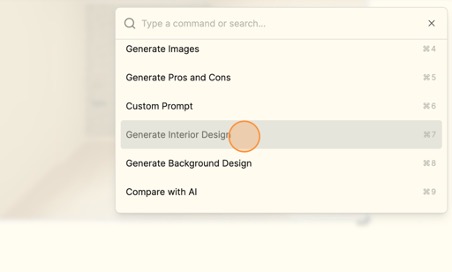
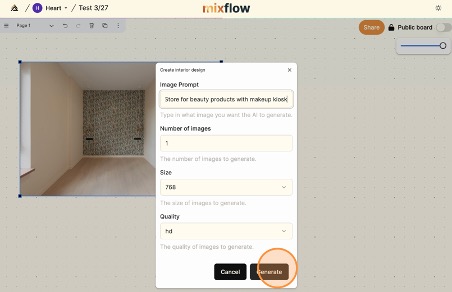
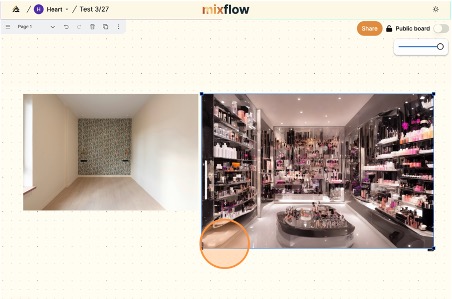
AI Interior Designs
- Drag and drop a photo of the room/area you wish to improve.
- Press CMD + J and click GENERATE INTERIOR DESIGN.
- Type your prompt in the image prompt field and click GENERATE.
- Wait for it to show the result.
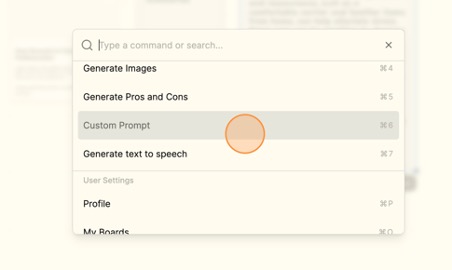
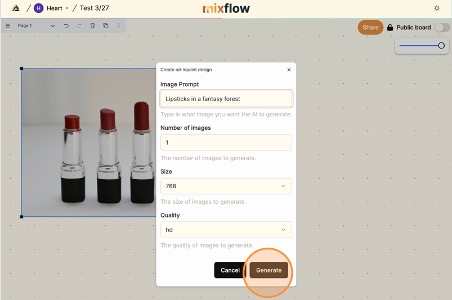
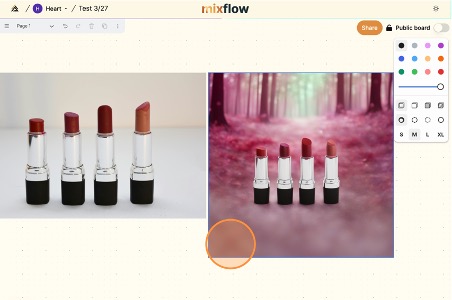
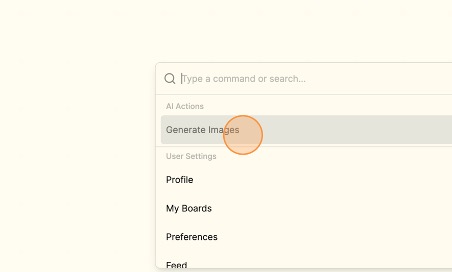
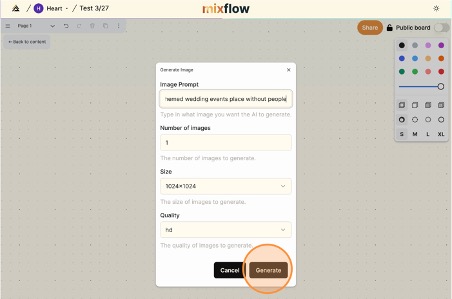
Generate Images
- Click anywhere on the board. Press CMD + J and click GENERATE IMAGES.
- Type your prompt and click GENERATE.
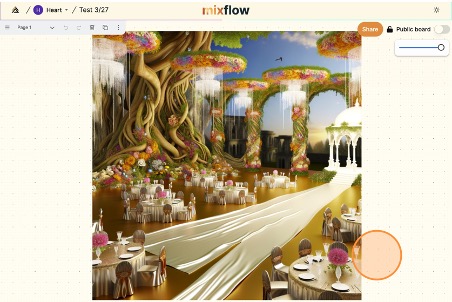
- Wait for it to show the result.
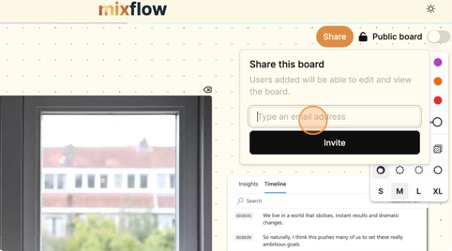
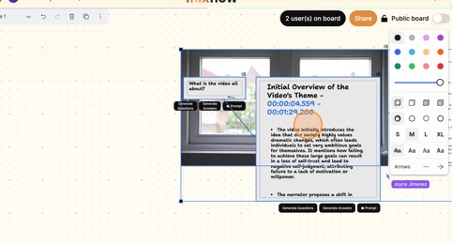
Real-Time Collaboration
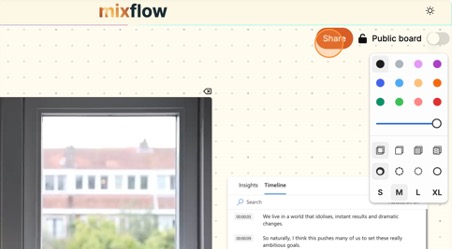
- Click SHARE.
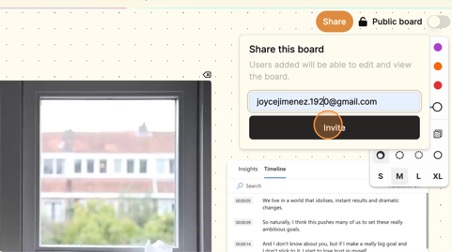
- Type the collaborator’s email address.
- Click INVITE. A link will automatically be copied to your clipboard. Send this link to the collaborator.
- You can now see 2 users on the board, and you can also see what the collaborator is doing real-time.
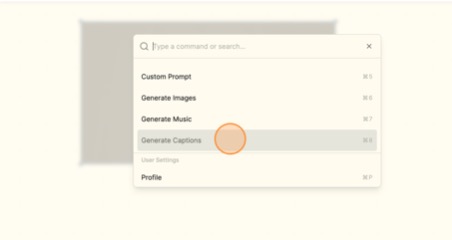
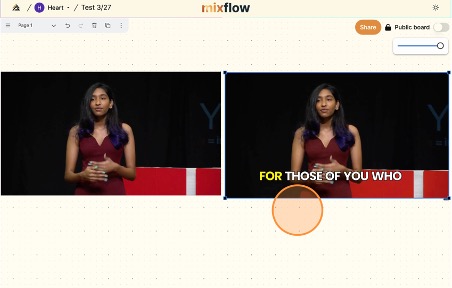
Captions
- Drag and drop a video.
- Press CMD + J and click GENERATE CAPTIONS.
- Wait for the new video with captions to appear.
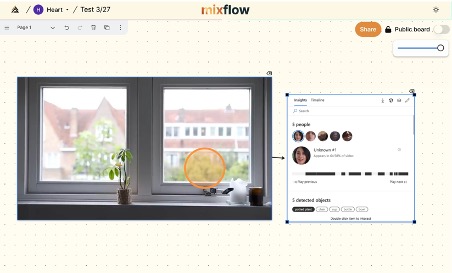
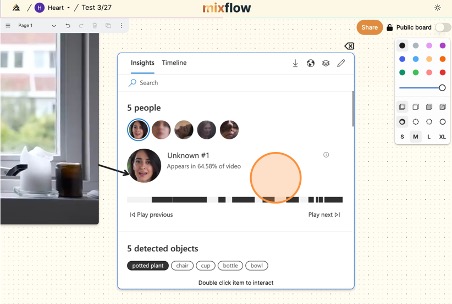
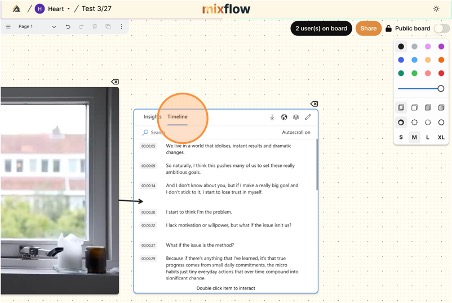
Video Insights
- Drag and drop a video and it will show you the video insights and timeline.
- Here’s a closer look. Navigate and explore.
- Go to TIMELINE to see the transcription and navigate the video by clicking on the lines.
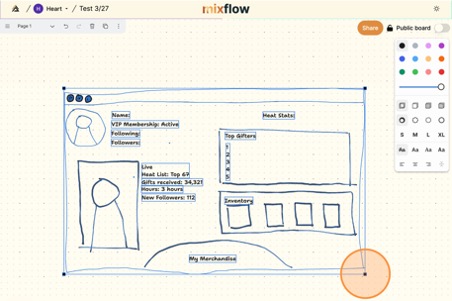
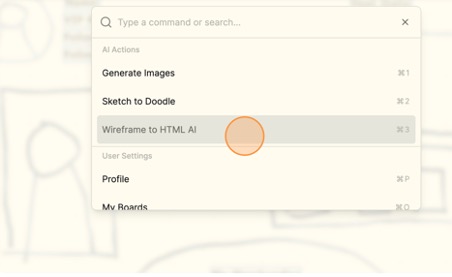
HTML Wireframe
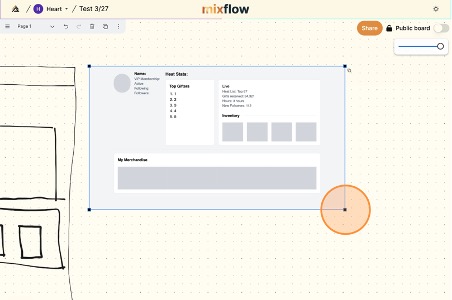
- Click on the pen tool to start sketching.
- Draw your wireframe.
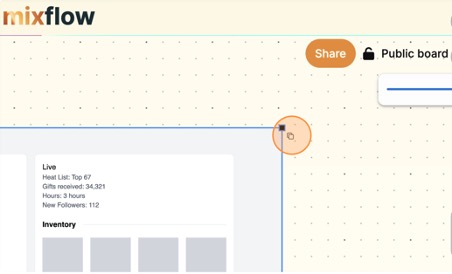
- Highlight the whole sketch.
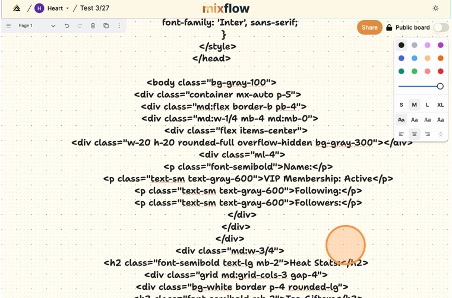
- Press CMD + J and click WIREFRAME TO HTML AI.
- Wait for it to show you the result.
- Copy the code by clicking the copy button.
- You can now use the code.
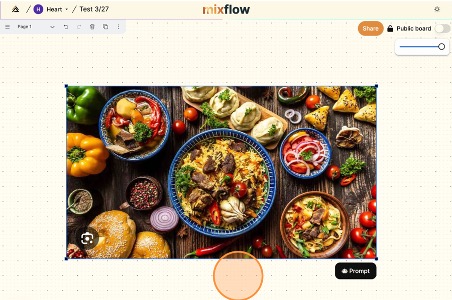
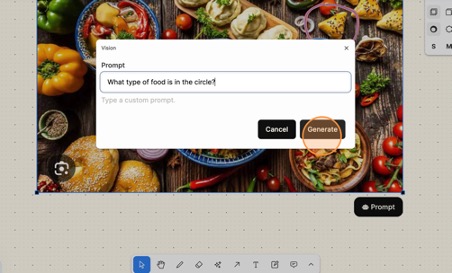
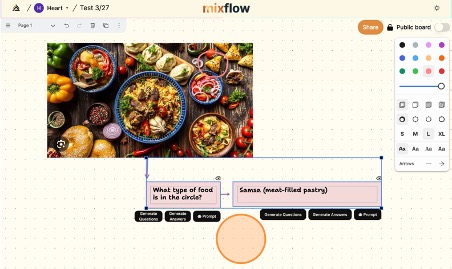
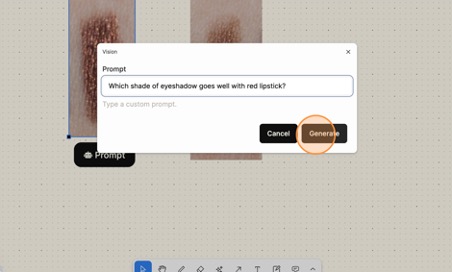
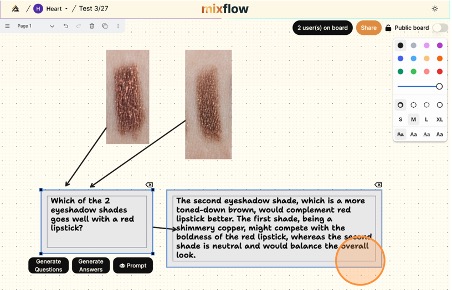
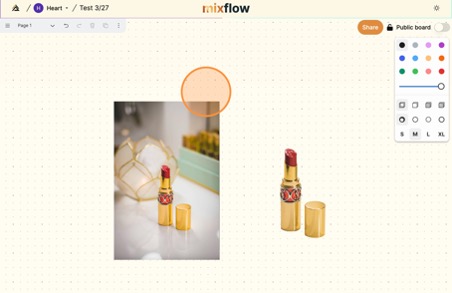
Vision AI
- Drag and drop a photo with the item (or something) you’re trying to identify.
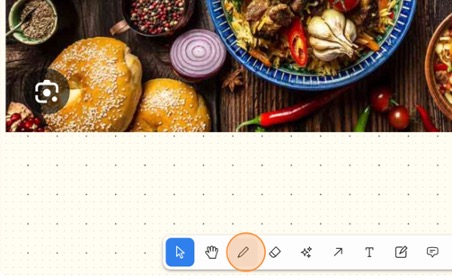
- Click on the pen tool.
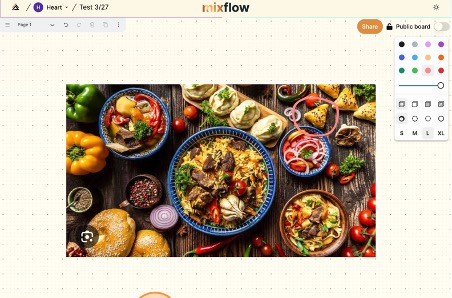
- Encircle the part of the picture that you’re trying to identify.
- Highlight the whole picture. Make sure to include the circle you created.
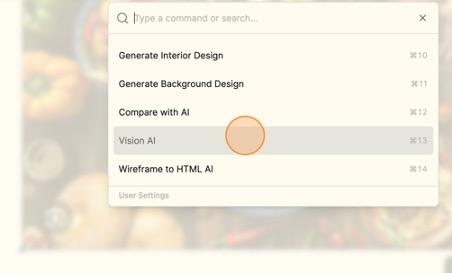
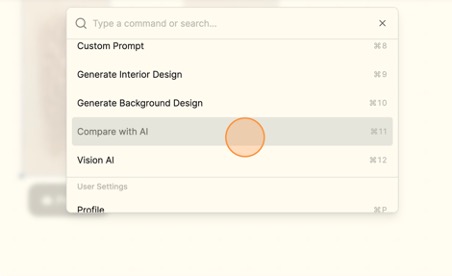
- Press CMD + J and click VISION AI.
- Type your question in the prompt field.
- Wait for it to answer your question.

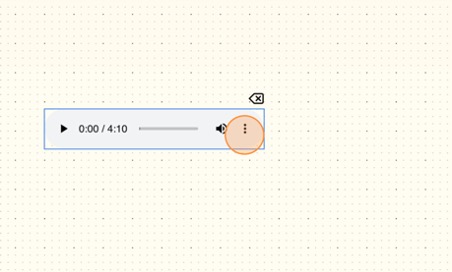
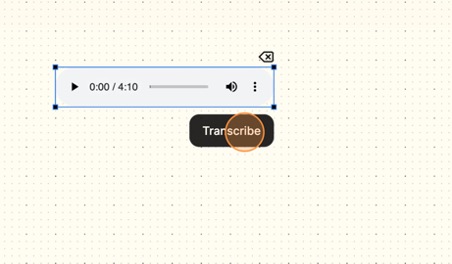
Chat with an Audio File
- Drag and drop an audio file.
- Click TRANSCRIBE.
- Wait for the transcription to appear.
- Click on the transcription, press CMD + J, and choose CUSTOM PROMPT.
- Type your question in the prompt field.
- Wait for it to answer your question.
- If you have a follow-up question, press CMD + J and choose CUSTOM PROMPT again.
- Type your question in the prompt field and click GENERATE.
- Wait for it to show the answer.


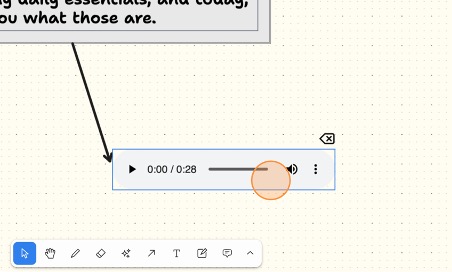
Ask AI to Create an Audio File
- Press C and click anywhere on the board.
- Type the script.
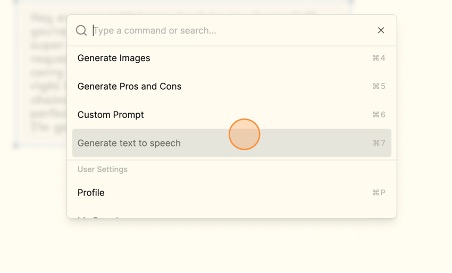
- Press CMD + J and click GENERATE TEXT TO SPEECH.
- Wait for it to generate an audio file from the script you provided.
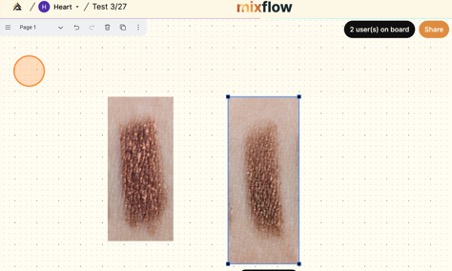
Compare AI
- Drag and drop 2 photos.
- Highlight both photos.
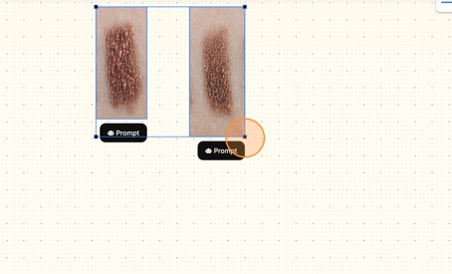
- Press CMD + J, and click COMPARE WITH AI
- Type your question or prompt in the prompt field.
- Wait for it to answer your question.
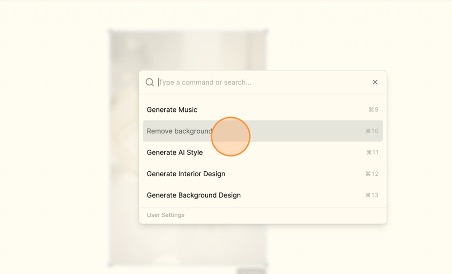
Remove Background
- Drag and drop a photo.
- Press CMD + J and click REMOVE BACKGROUND.
- Wait for it to show you the result.
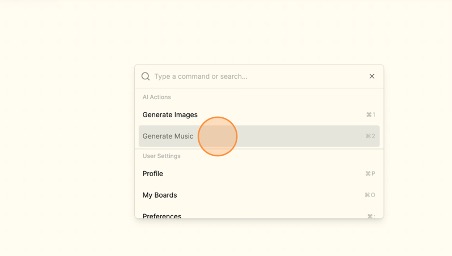
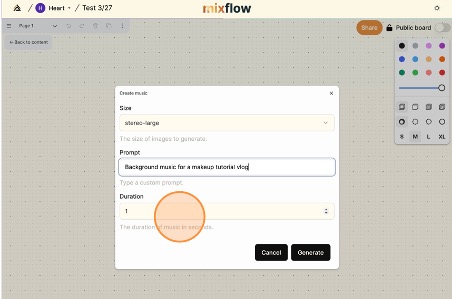
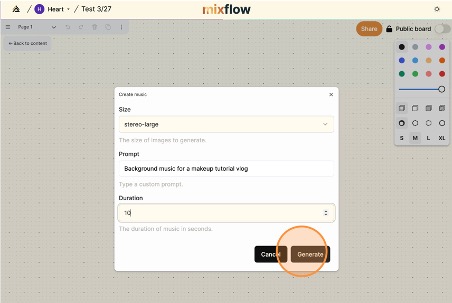
Generate Music
- Press CMD + J and click anywhere on the board.
- Type your prompt in the prompt field.
- Click GENERATE.
- Wait for the audio file to appear.

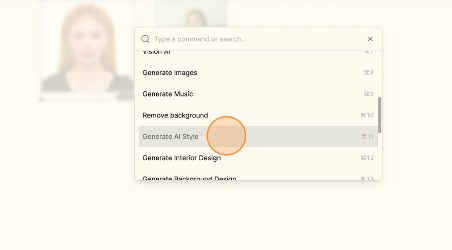
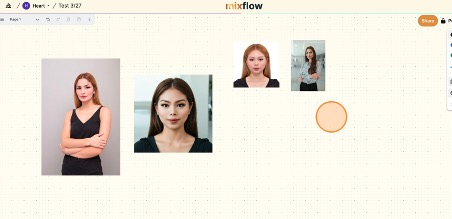
Generate AI Style
- Drag and drop 2 photos.
- Press CMD + J and choose GENERATE AI STYLE.
- Wait for the photos to appear.